category
0
total
0
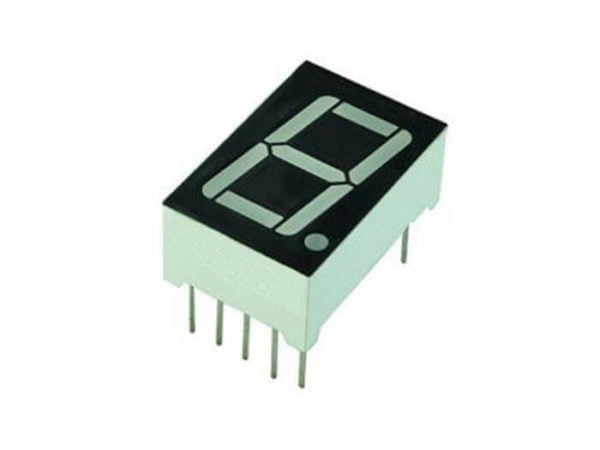
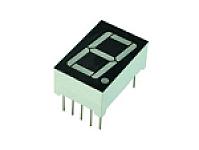
7 Segment Display (1x1) Common Cathode - 0.5 Inch
Overview
This 7 Segment Display is a common cathode type measuring 0.5 inches in height. It offers a clear and bright way to showcase numerical information in a variety of applications, making it an essential component in digital circuits. Due to its simple design and functionality, it is favored for interfacing with microcontrollers and other digital display systems.
Key Features
- Common Cathode Configuration: Suitable for a wide range of applications where common grounding is preferred.
- 0.5 Inch Height: Optimal size for functions where space is limited, yet visibility must be maintained.
- High Brightness: Capable of delivering bright red light, ensuring the displayed information is easily readable even in well-lit environments.
- Low Power Consumption: Designed to operate efficiently, making it an excellent choice for battery-powered applications.
- Wide Viewing Angle: The display ensures visibility from various angles, enhancing user experience.
Applications
This display is widely used in consumer electronics, control panels, and various DIY projects. Common applications include:
- Digital Timers
- Clocks
- Calculators
- Electronic Measurement Equipment
- Instrumentation Displays
- Home Appliance Indicators
- Gaming Devices
Energy
The 7 Segment Display operates on low voltage, typically between 2V to 3.5V. It is highly efficient, making it suitable for applications where conserving power is critical. The average current consumption for each segment can vary but is generally within the range of 10-20 mA. It is advisable to use current limiting resistors to prevent damage to the segments due to excessive current.
How to Use
Using the display is straightforward. Connect each segment to a digital output pin on your microcontroller, with the common cathode connected to the ground. To light up any particular segment, simply set the corresponding output pin to HIGH. Here is a simple step-by-step guide:
- Identify and connect the common cathode to ground.
- Connect each segment pin to a designated control pin on your microcontroller.
- Implement a control algorithm to set the pins HIGH or LOW based on the desired number.
- Utilize current limiting resistors as required to ensure safe operation.
For more technical specifications and data, please refer to the datasheet.
related products


3 Digit 7 segment display(3×1) common Cathode
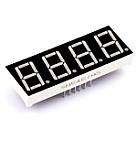
4 Digit 7 segment display(4×1) common Cathode
Popular Brand